In this post we will be updating you on the work in progress on the tower – for the first post in this series please click here.
*** IMAGE HEAVY POST – MAY TAKE SOME TIME TO LOAD ***
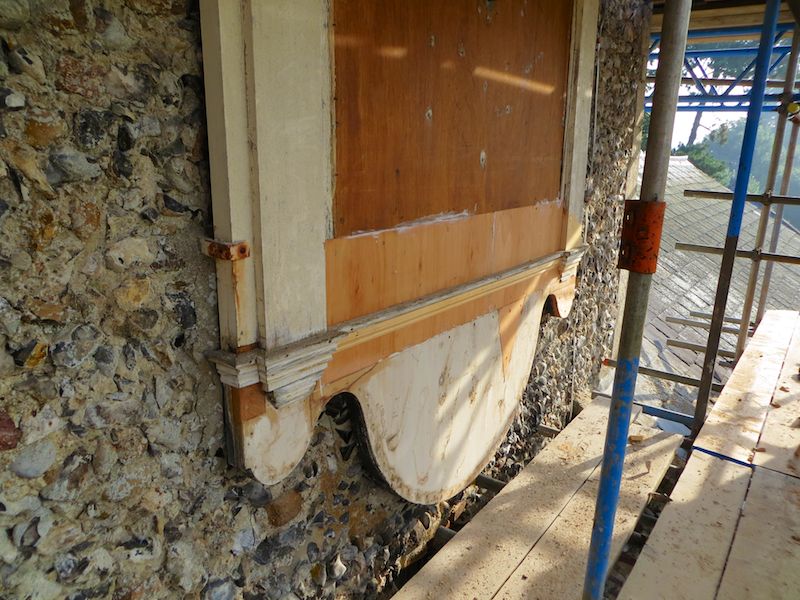
On Wednesday 4th September Brett, the stone mason, began his work to repair the broken gargoyle.
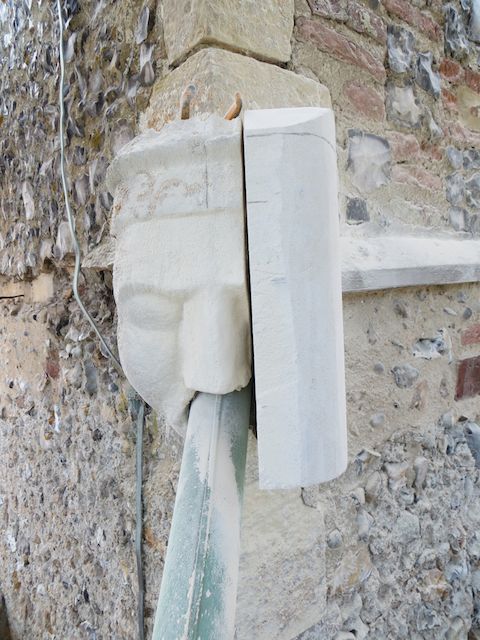
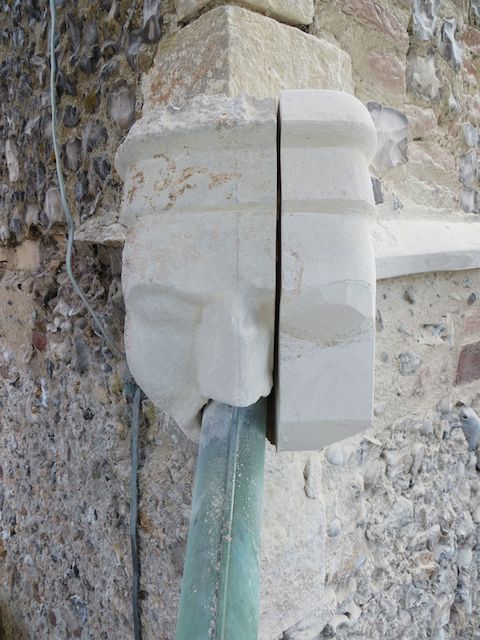
The first stage of his work involved cutting out a block from the tower so he could embed the block of stone needed to repair the gargoyle.
Brett cut a 14 and a half inch tall block of stone (the height needed to carve the gargoyle’s face) at one end so it would fit in the tower wall. With Will’s help Brett offered the stone block up and marked where the inside cuts were needed – the inside cuts are to allow the new stone to sit flush to the old stone and also to accommodate the water pipe.
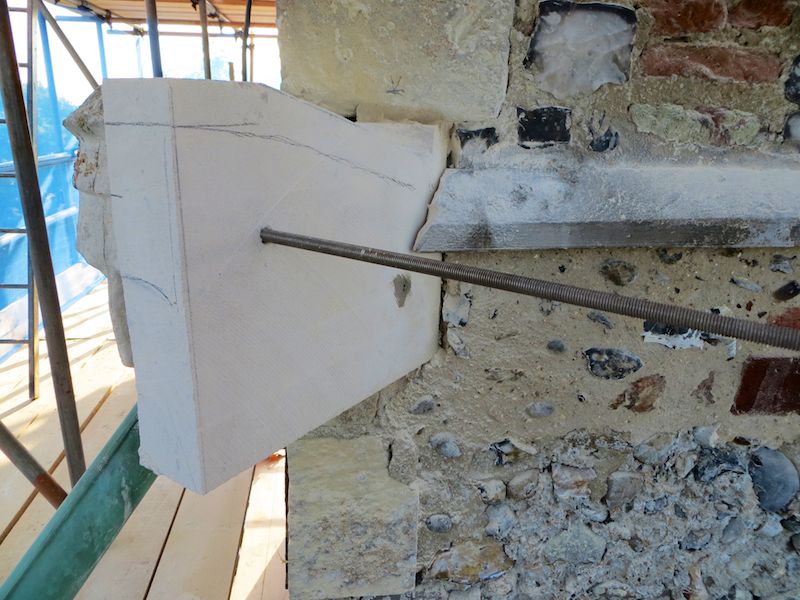
Freshly installed block being prepared for carving
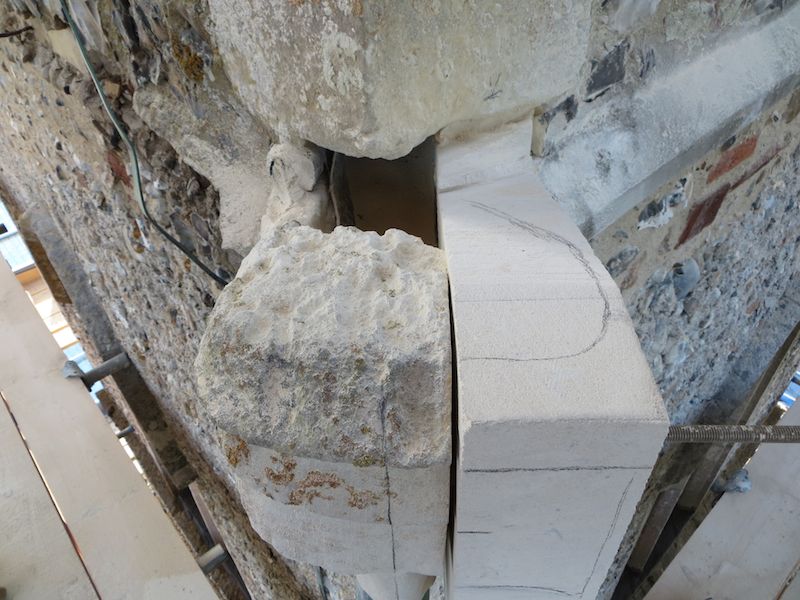
Once the inside of the block was shaped Brett fixed it in place using an epoxy resin glue and also by pinning it in place with substantial steel pins (just over five inches in length.) The long pin shown above was temporary whilst the epoxy resin glue dried.
There is a gap between the old and new stone – once the carving is complete Brett will fill the gap (“pointing”) with a lime mortar. This lime mortar includes lime from stones Brett has ground and shaped in his workshop – the dust is collected and filtered (to keep out any unwanted debris or larger lumps of limestone) and reused.
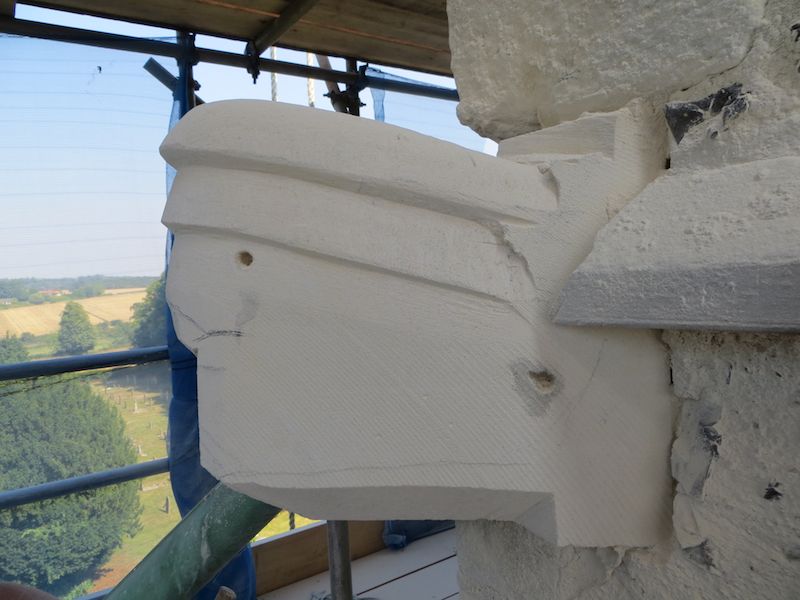
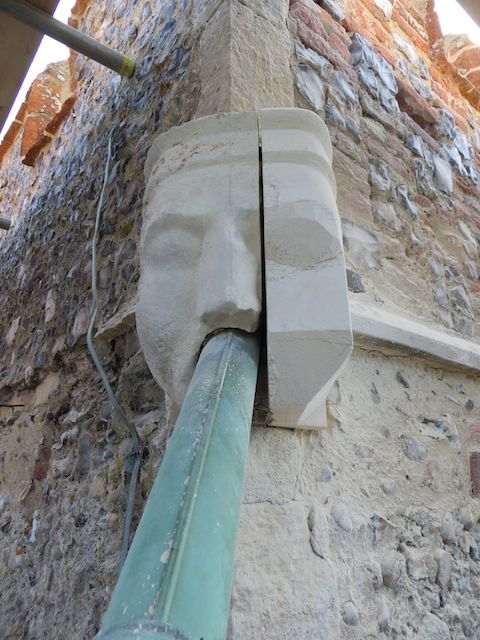
On Thursday 5th September Brett began the job of carving the outside of the block to recreate the face of the gargoyle.
The first stage involved marking the centre point of the face and transferring the main features to the stone block before grinding the stone away to create the curve of the face and then to carve the finer details.
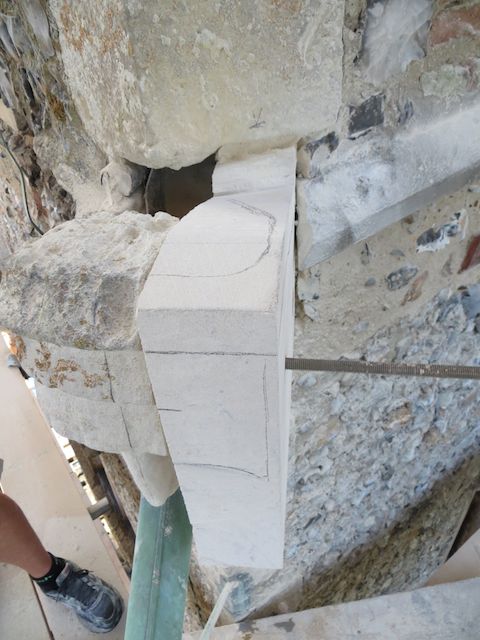
Block marked up prior to shaping
Marked up block from the front
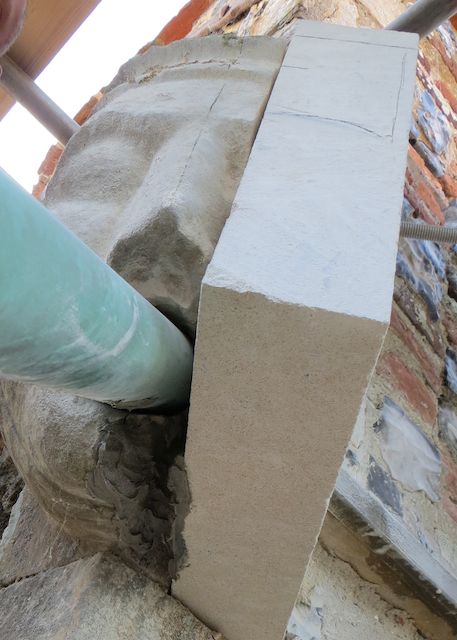
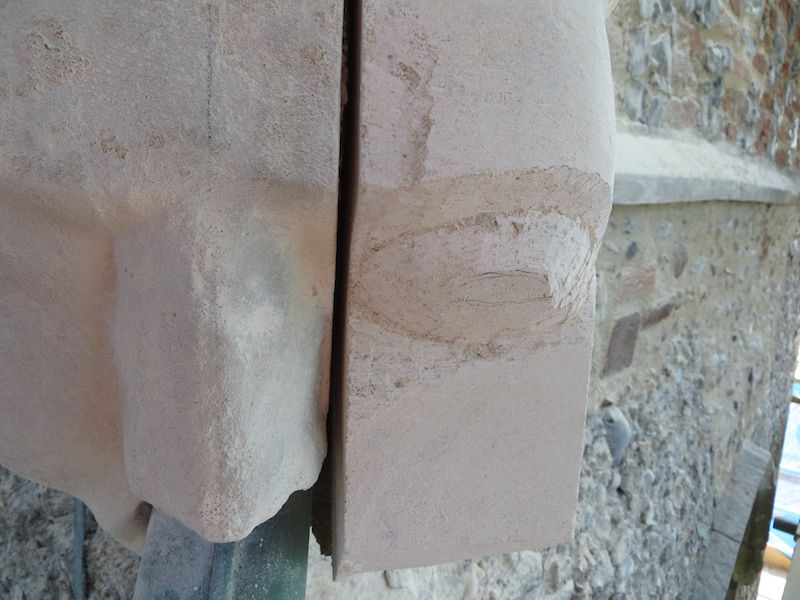
Underside of the block showing the join into the tower
Block from the top showing the join with the tower and water pipe
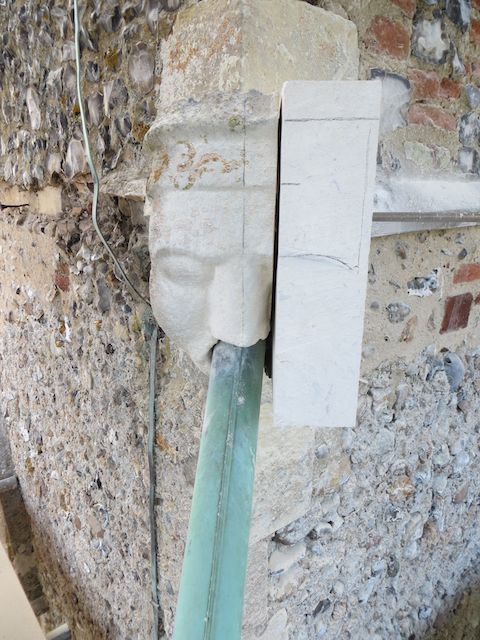
Details Brett has to consider include the puffed out cheek, lines defining the face (possibly representing a hairline or hair covering) and the fact the old side of the gargoyle is worn down.
The following pictures were taken during the first day of carving and show progress from the marked up stone block towards the final gargoyle.
The first curve
Side view of the block with the major lines framing the face
Starting to shape the eye
Creating the angle for the cheek and jaw
Eye detail at the end of the first stage of shaping the stone
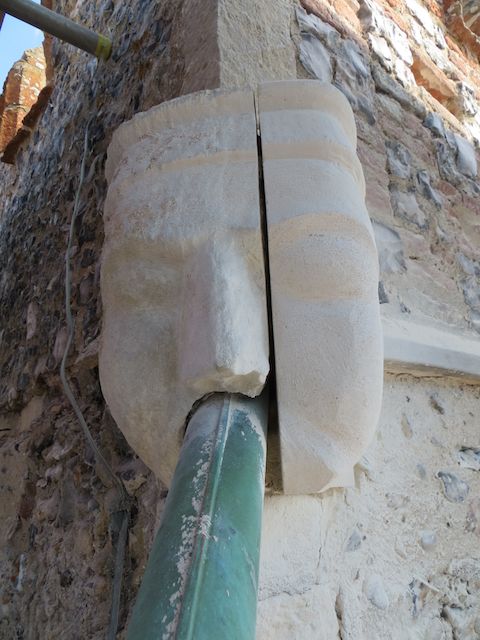
Gargoyle at the end of the first day

At the end of the first day of carving
The top of the new side is smooth, one of the last stages will be to mimic the surface of the old side by chiselling dimples to match the old side.
Brett also has to cut the stone above and under the actual gargoyle to match the join to the tower on the old side.

Starting to shape the bottom of the stone towards the join with the tower

Starting to shape towards the top join with the tower
Looking at the features of the gargoyles and grotesques Brett estimated that they would have been installed when the tower originally went up or shortly thereafter. There is no documentary evidence to confirm when the current tower was built but it is believed to have been in the 14th Century.
Roger and Will have been installing the louvres. These have been made from European oak – the trees have their branches removed as soon as they start to form, this means that there are hardly any knots in the wood giving lengths of strong wood with a fine grain unlikely to warp over time.
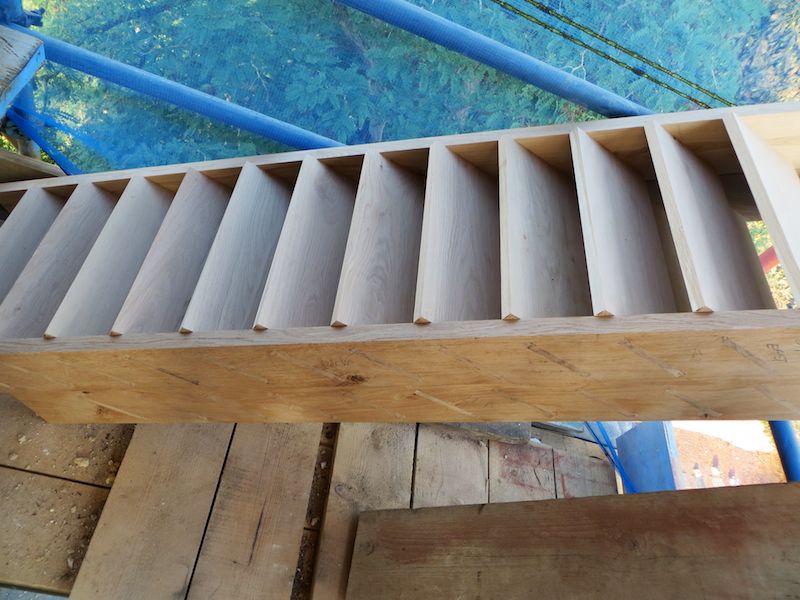
Louvre awaiting installation
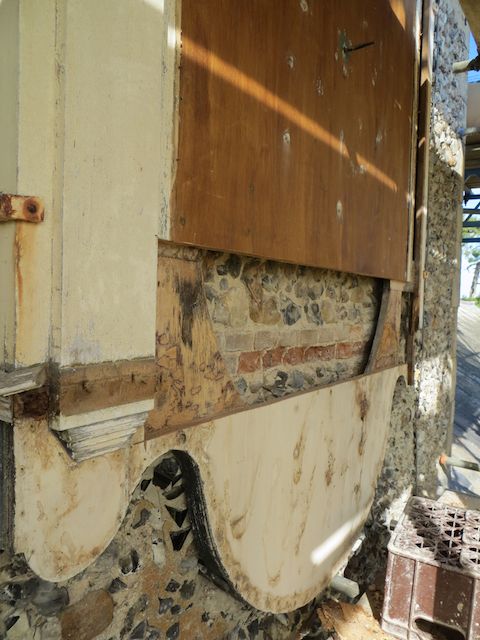
The bricked up sound openings have had the outside of the brickwork rendered prior to the louvres being installed.
The louvres were made to precise measurements – they fit into the sound openings solidly. They are fixed to the stonework of the sound openings with long steel screws.
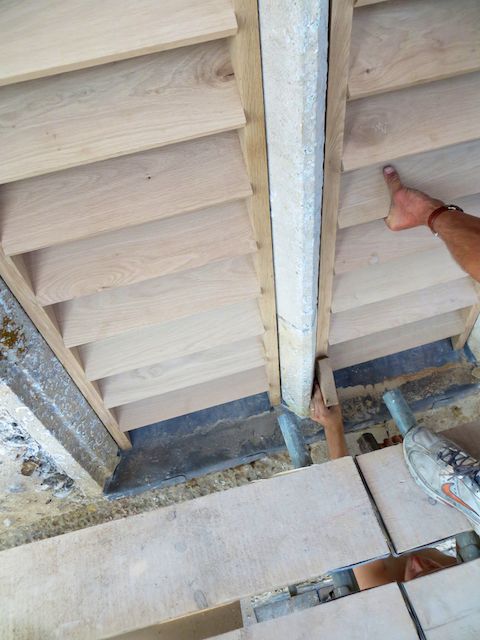
Tapping the louvres into position

Tapping the louvres into position at the top

Checking the installation
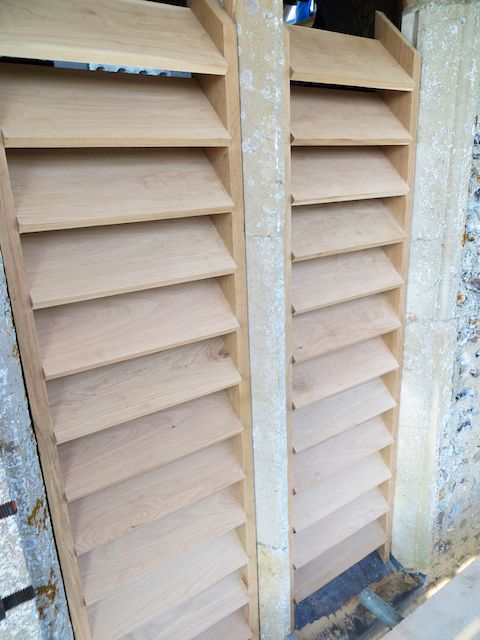
Installed louvre
Behind the louvres a steel grid has been installed to prevent bats entering the tower. The steel is 12 gauge and the grid is rectangular (75 by 12 mm).
For the time being access to the inside of the tower is still needed so the louvres on the west side are not yet installed.
Other repairs that have been done since the last post include:
- repairing the clock casing – Roger has removed the damaged wood and re-built the casing as required. The next stages of work on the clock are painting, re-fitting the face and completing the casing around the face.
Clock casing with damaged areas removed
Clock casing after repair
- pointing and repairs to the crenellations.
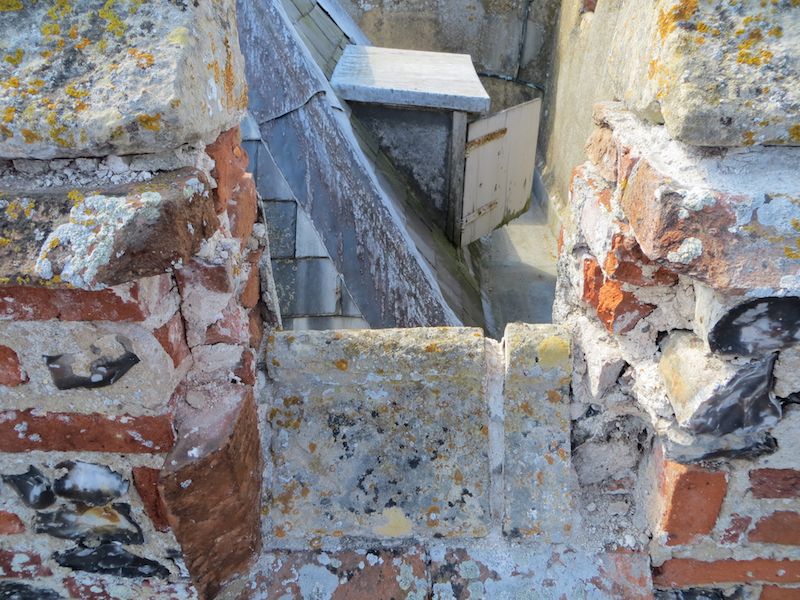
Example of repairs needed at the top of the tower
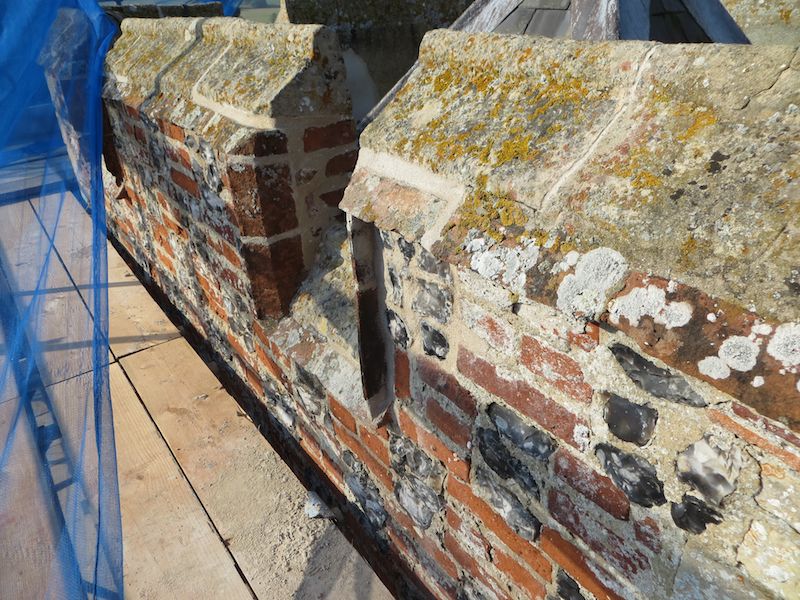
Example of repair at the top of the tower (this is the same area as the previous picture from a different angle.)
Many thanks to Brett, Roger and Will for their help.
Fascinating! I hadn’t realised how much intricate work was going on up the Tower behind all the scaffolding.
I always thought that all “faces” on the outside of a Church were gargoyles – I didn’t realise that gargoyles were only those with water pipes and that the rest were called “grotesques”. I suppose we all learn something new all the time!
I look forward to the next instalment.
Best wishes,
Lynn
I am most impressed and fascinated by the intricacy of the work required. I am also full of admiration for the photographer & the craftsmen doing the work
Pingback: The finished gargoyle | St. Mary the Virgin, Saxlingham Nethergate
Wonderful work by three true craftsmen and very proud of our son brett the stone mason.linda and bill tarling.
Lovely to see some of your excellent work at last Brett – I have heard so much about it. Well done. Anne