***THIS POST CONTAINS A LOT OF PHOTOGRAPHS – IT MAY TAKE SOME TIME TO LOAD***
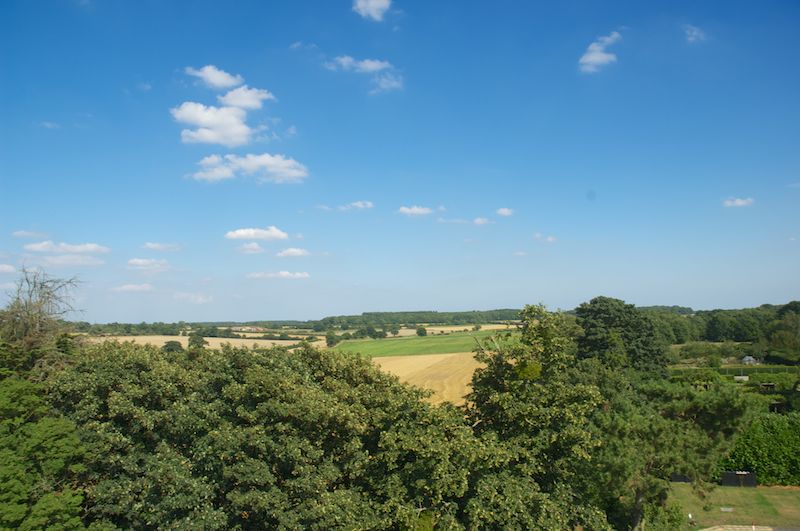
The view from the tower on 29th August 2013
On Thursday 29th August, a beautiful summer’s day, we joined Roger and Will Tyrrell on the scaffolding currently encircling the church tower for an update on the work strengthening the tower ready for the return of the bells.
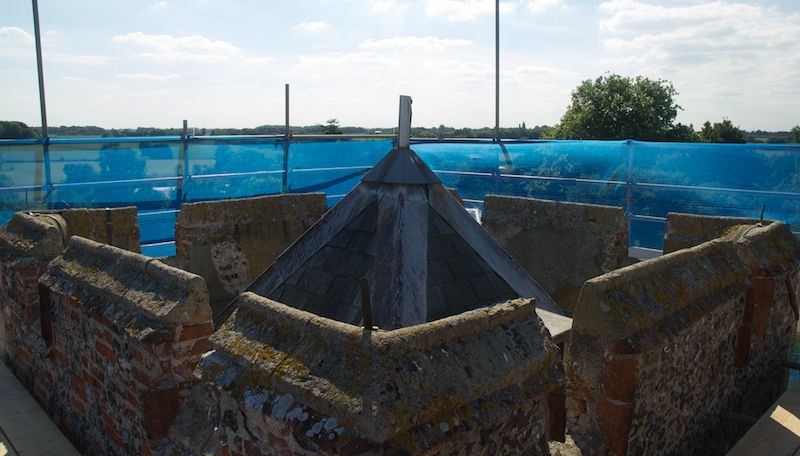
The very top of the tower
Inside the tower the new beams we saw at the foundry have been installed. This is a very precise installation as these beams are a part of the supporting framework for the bells. Roger explained that, in order for the beams to be held solidly, it was necessary to ensure that the cement mix fixing the beams to the tower was firmly packed into all the space, not only around the beam but also behind the plate at the end of the beam. This will ensure the stability of the bell installation.
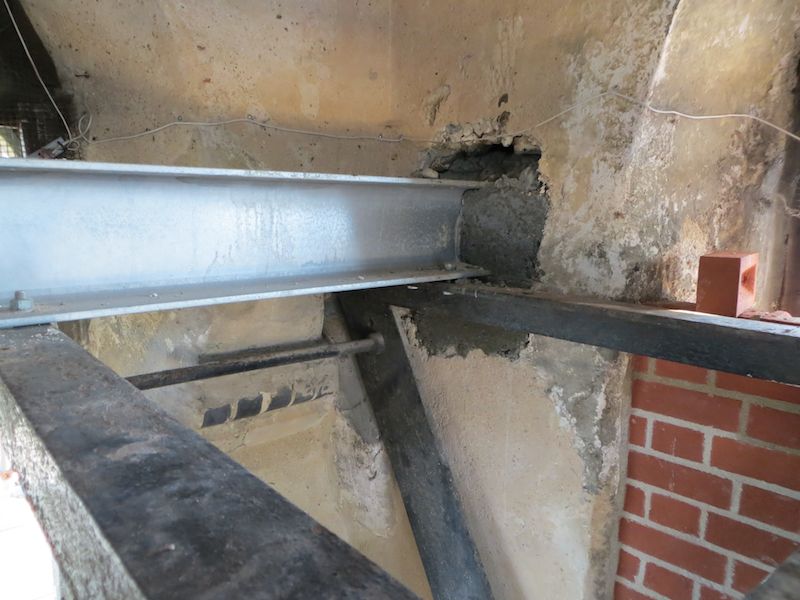
Showing the beam joint with the tower wall – photo by Roger Tyrrell
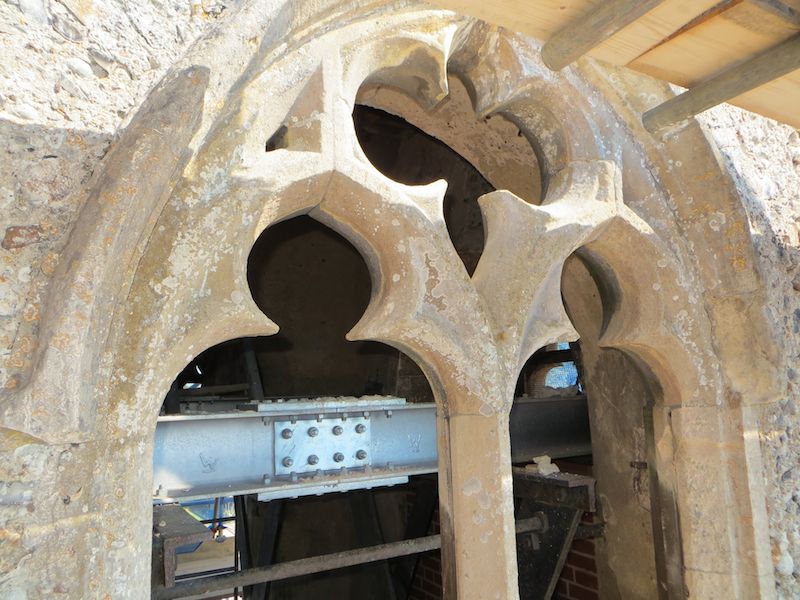
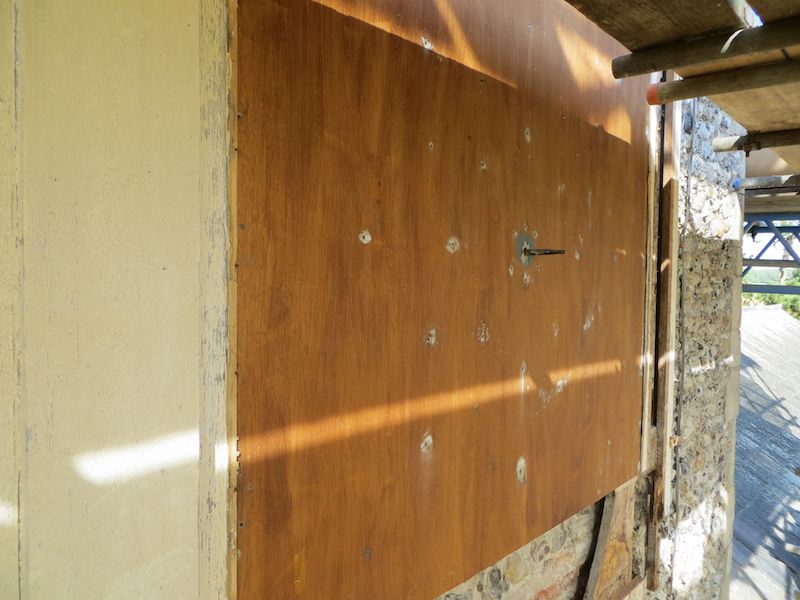
Showing the level of the new beam from the outside
Two of the sound openings have been bricked up to increase the stability of the tower – the brickwork is double skinned, every other course of bricks has a steel grid through it allowing the two skins to be tied together; where the brickwork meets the stone of the tower thin steel rods have been embedded 10cm into the tower stone and fixed with resin to make the join solid; the gap between the two skins is filled with concrete; the outside of the brickwork will be rendered and then the oak louvres will be installed over the opening. The oak louvres are made with joints designed to prevent the incursion of water and also to allow for expansion of the wood. Initially the oak louvres will be quite bright against the tower, as they weather they will blacken before reaching their final oak shade.
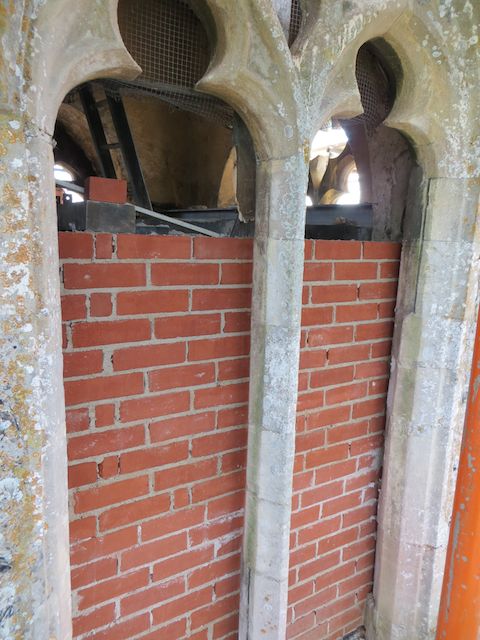
Sound opening being bricked up
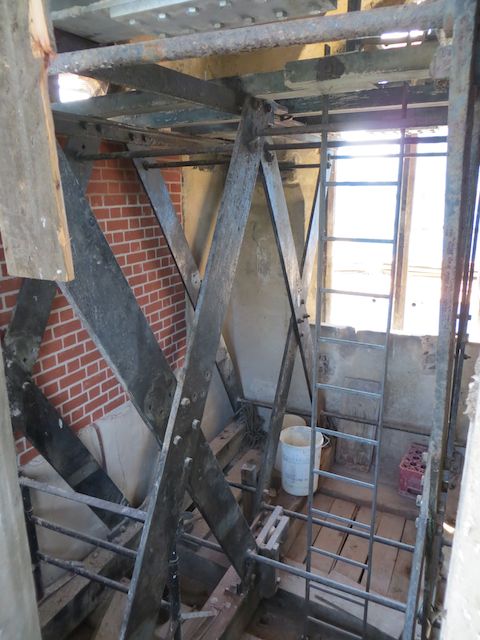
Sound opening and the X frame
The base of the sound openings have all been re-leaded to ensure no water can enter and cause damage to the structure and thus the stability of the tower.
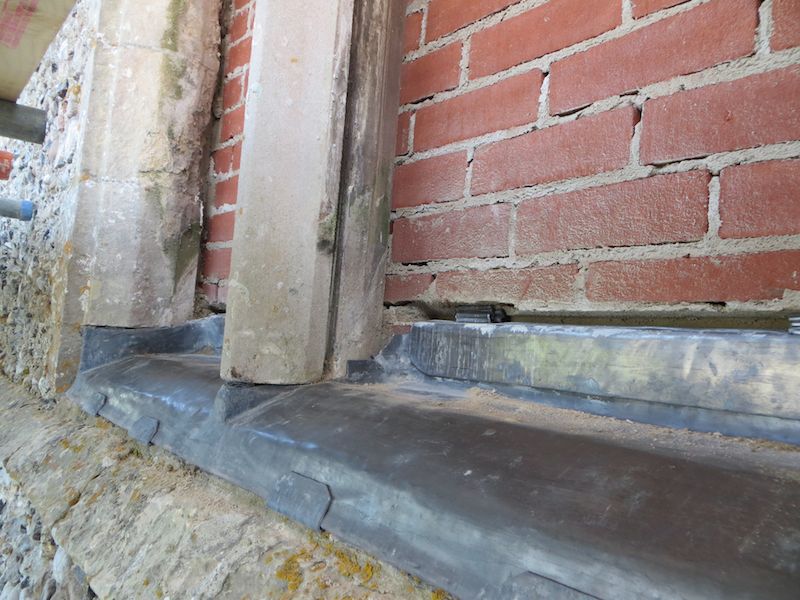
Leadwork at the base of one of the sound openings
In the above photograph you can see a groove cut into the central upright of the sound opening. This is a groove for window glass. There have never been windows in the sound openings and only a few of the stones show grooves for holding glass. This suggests that these stones have been taken from another church and reused in the tower at St. Mary’s. Reusing stones from ruined churches was common practice and the Diocese stored such parts which had the potential for reuse.
The clock face has been removed for restoration – the entire face has been removed and will be primed, repainted and gold leaf applied before being reattached – once it has been reattached the face will be touched up to cover the points where the it has been screwed back onto to the casing.
The face of the clock goes here!
Clock casing
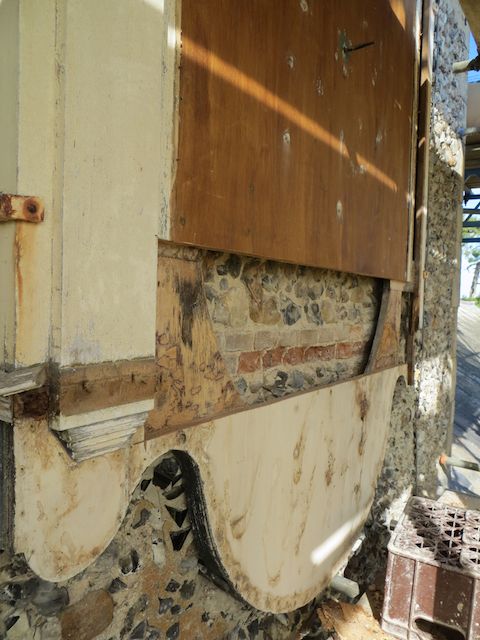
There was considerable water damage to the woodwork supporting the clock face which is being repaired. The lintel at the top of the clock was badly damaged and allowed water to penetrate the clock face casing; this has been repaired – the damaged stonework has been cut away and a course of bricks has been inlaid and the whole ledge has been beautifully leaded in a way to ensure that no water will be able to penetrate the clock face, the casing or the supports in the future.
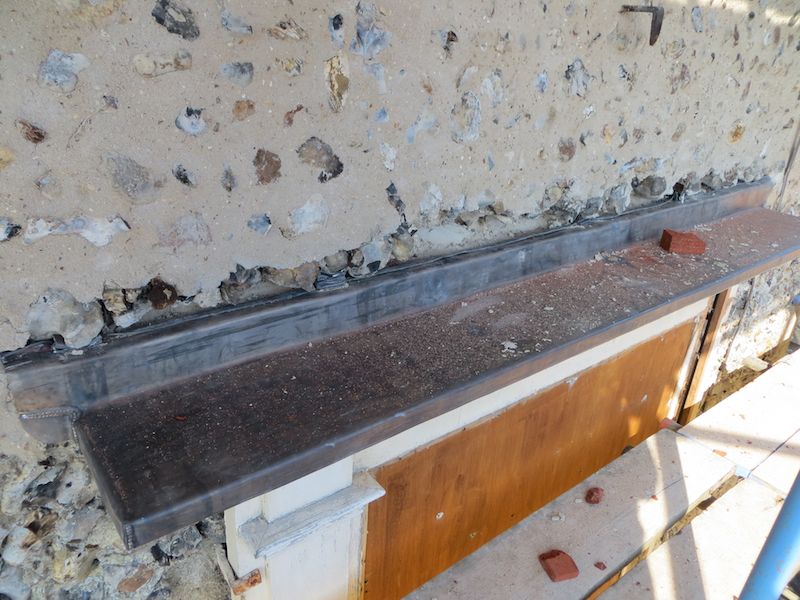
Lintel above the clock – cut out, brick course installed, leaded
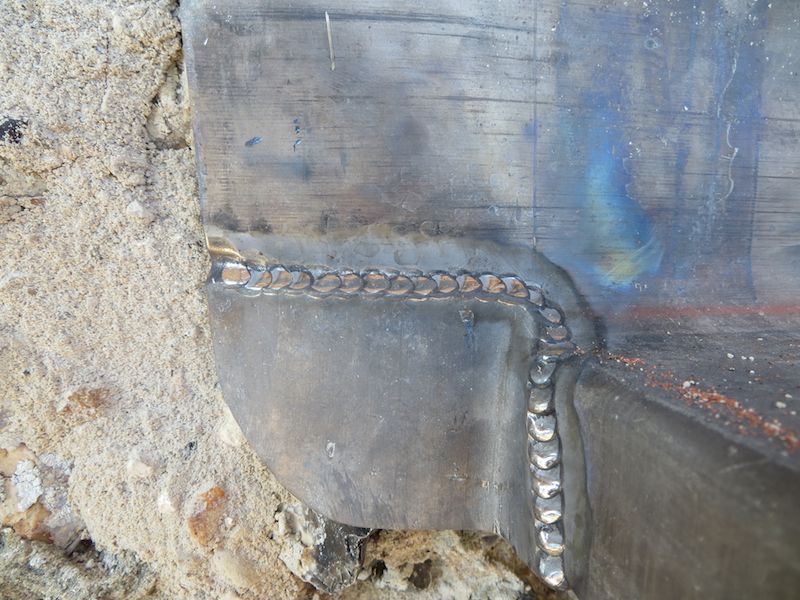
Soldering detail on the lead work
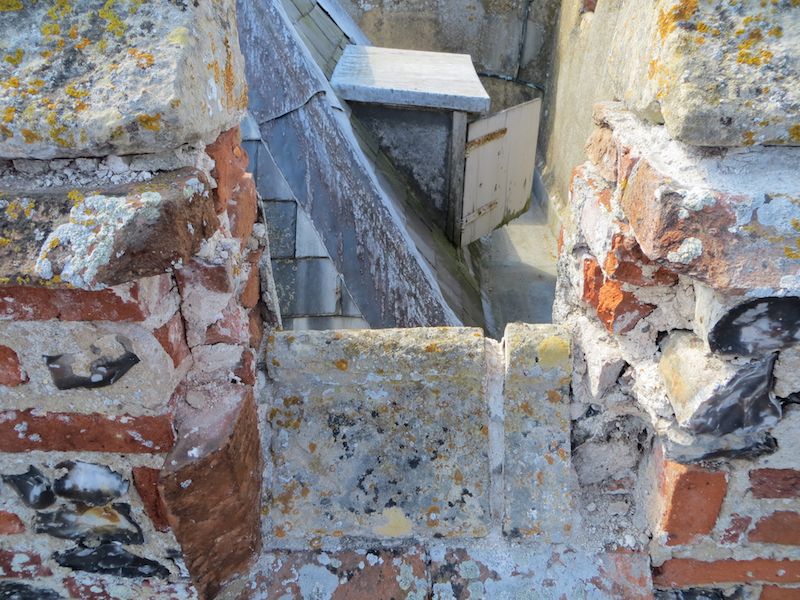
With the scaffolding up it is possible to closely examine the tower and perform any other maintenance and repairs needed.
The following pictures show some of the general repair work required at the top of the tower:

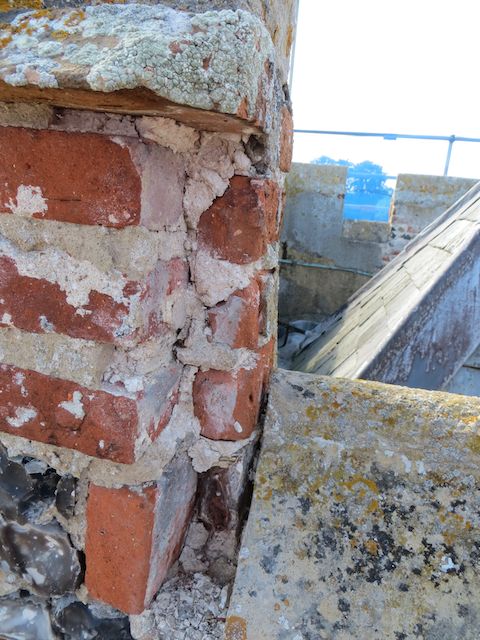
 In several areas the mortar around the flint work has deteriorated. In these areas the old mortar will be cut out and replaced with new mortar. The new mortar is made to a “recipe” as close as possible to the original mortar (English Heritage have studied mortar used on churches etc and have a recipe!). The mortar includes a couple of handfuls of grit, stones of approximately 10mm diameter and chalk lumps (which allow the mixture to “breathe”). Goat hair also goes into the mix to add strength.
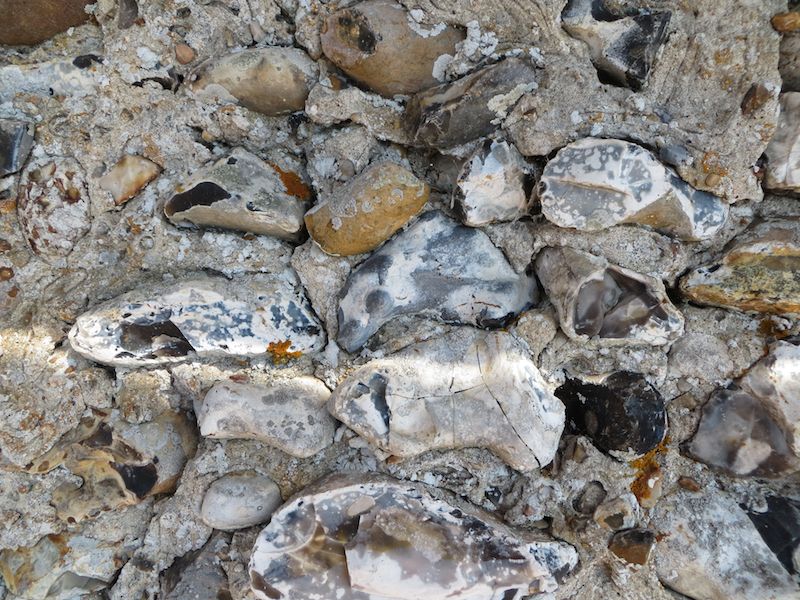
Old mortar cracking

Here the old mortar has been cut away ready to be re-done
High up on the tower there is an interesting chequer board effect created by squares of flint work and squares of red brick – several areas need repair.
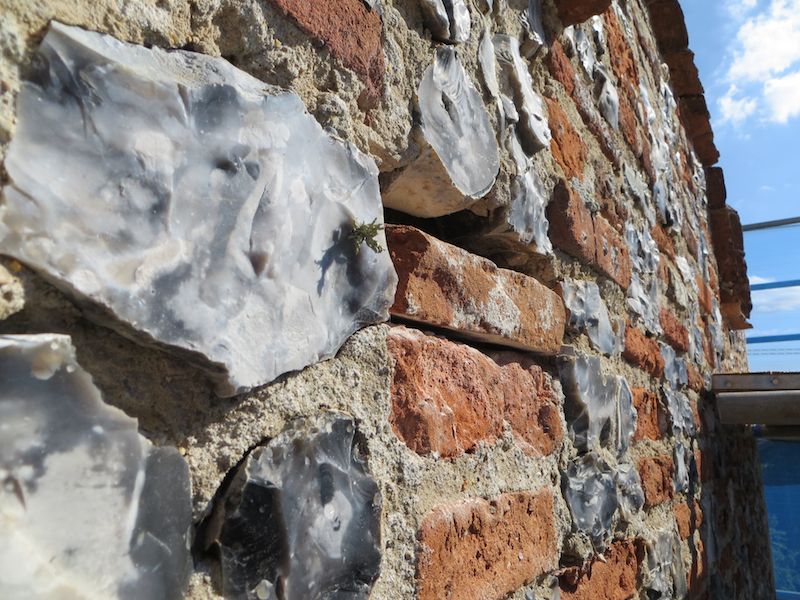
Chequer board effect with loose brick
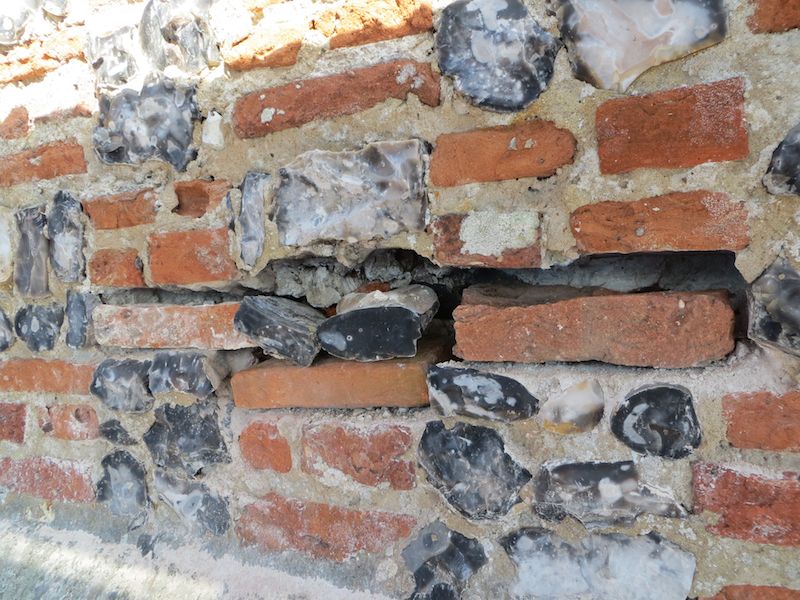
Chequer board effect needing repair
On the North face of the tower a string course had become dangerous. In a previous repair (probably when the bells were last re-hung!) the flint work under the string course was re-mortared and mortar was built up under the string course to strengthen it. This repair hasn’t stood the test of time. The string course has been cut away (to reveal a nail which was helping to support the stonework) and will be repaired with a new string course which will be firmly seated in the cut away area.
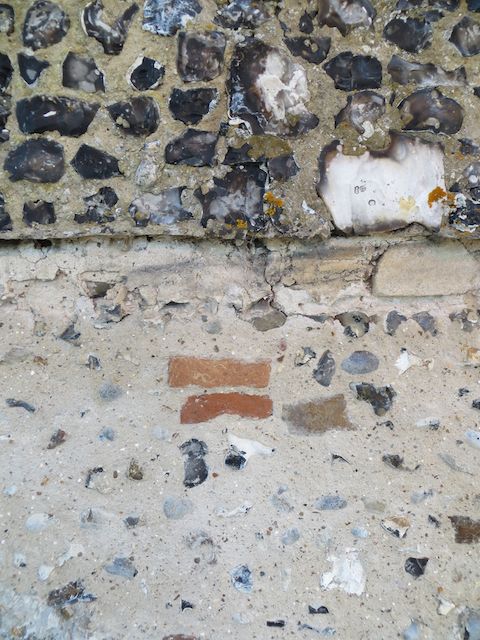
Showing the previously repaired area under the string course

String course – nail on the left of the picture was helping to support the stonework which has been removed

The nail a little closer
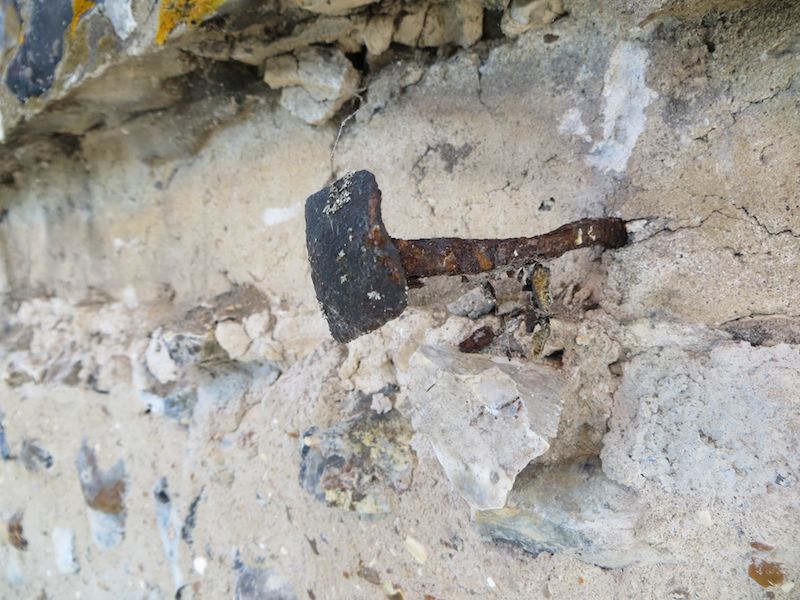
Close up of the nail
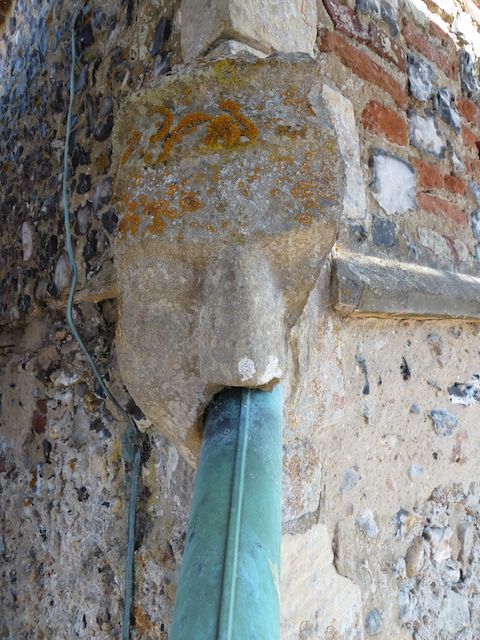
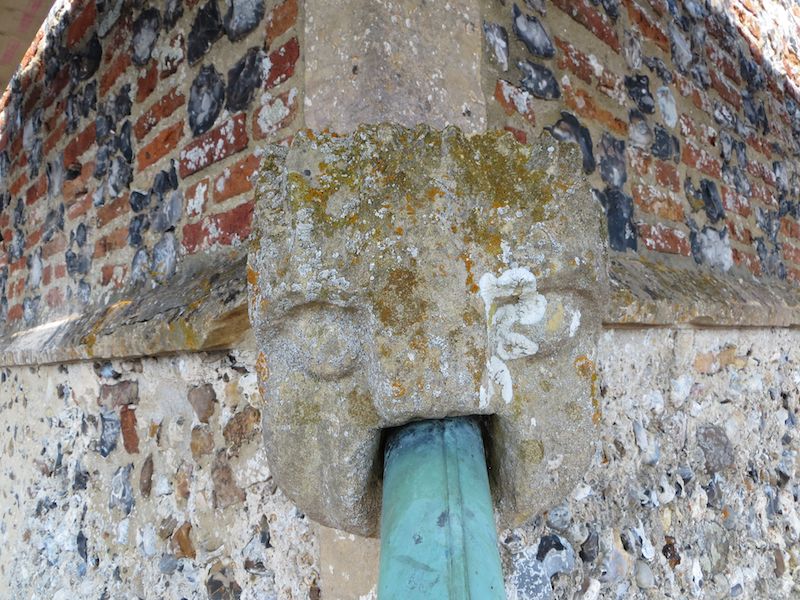
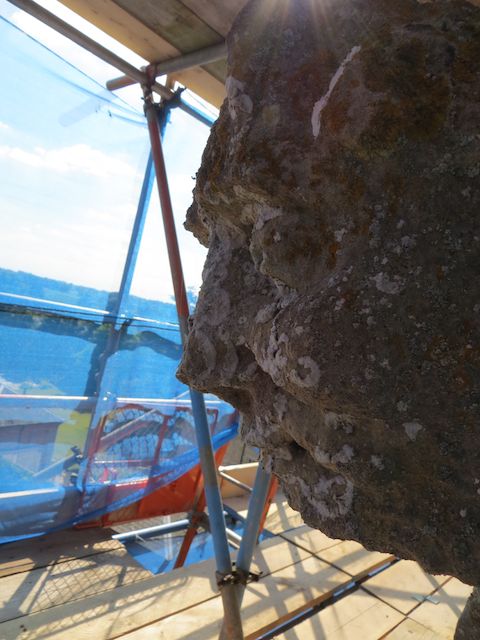
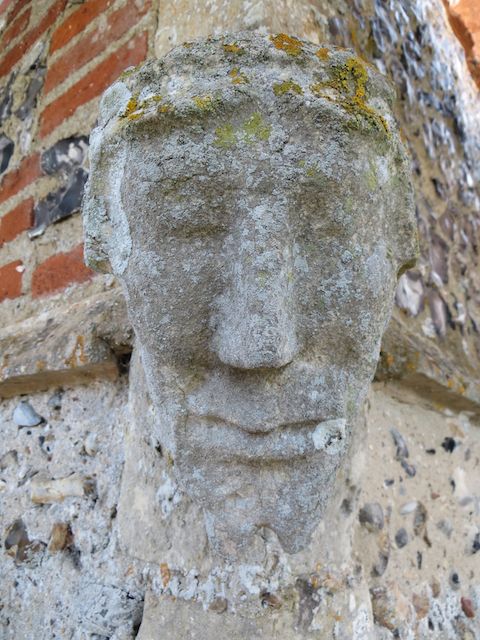
There are gargoyles and grotesques on the tower – grotesques are decorative; gargoyles allow for water to flow from the tower. One of the gargoyles has lost half of his face, leaving one side of the water pipe fully exposed. This is not safe. This gargoyle will have a new half face firmly stapled to the remaining half gargoyle to repair and make him safe.
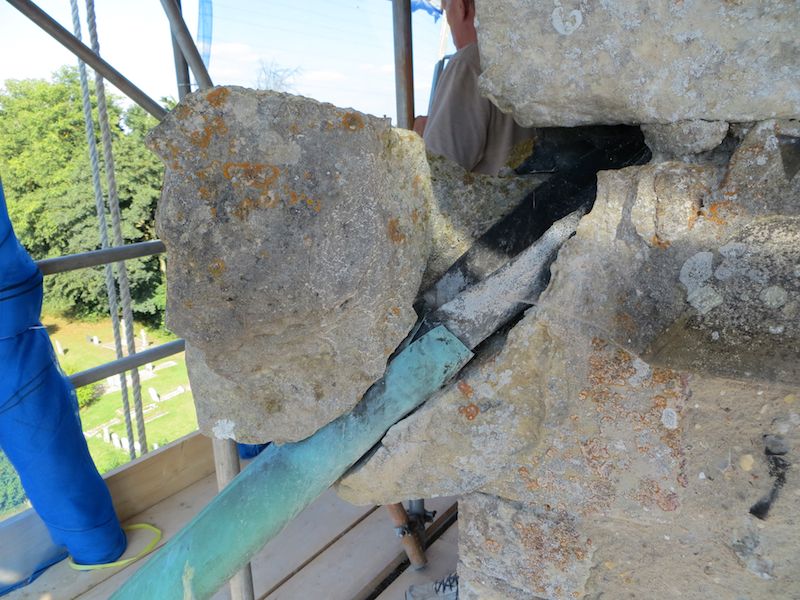
Gargoyle – Broken side view
Gargoyle – Broken face on
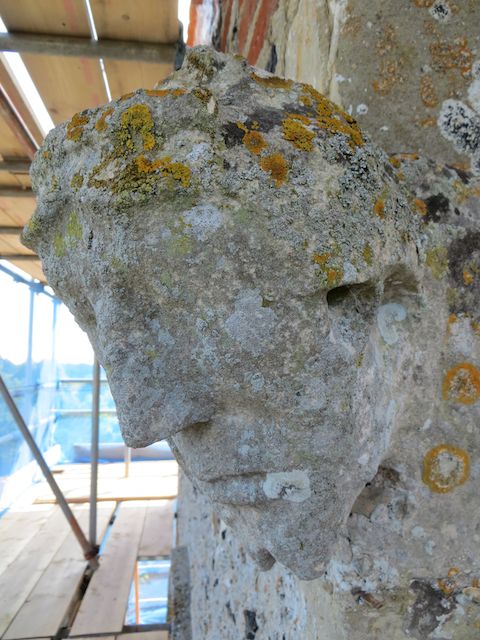
Gargoyle no 2 face on
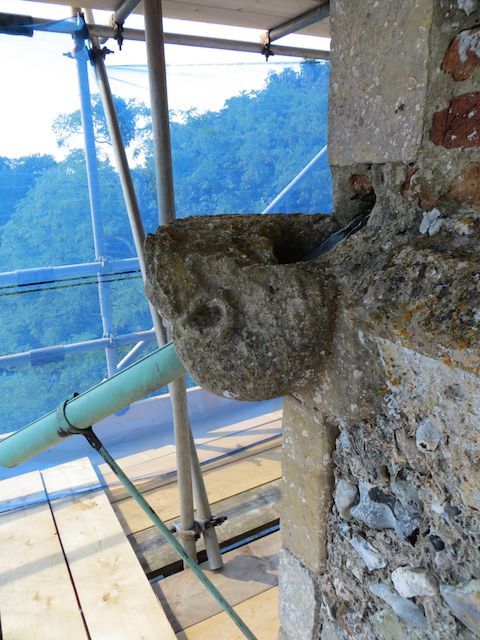
Gargoyle no2 side with ear
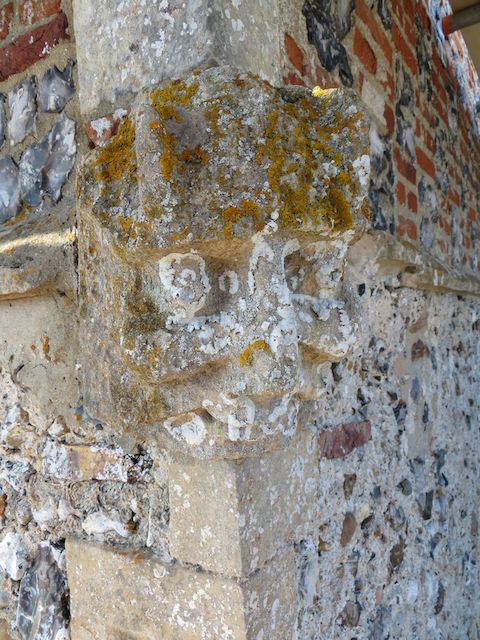
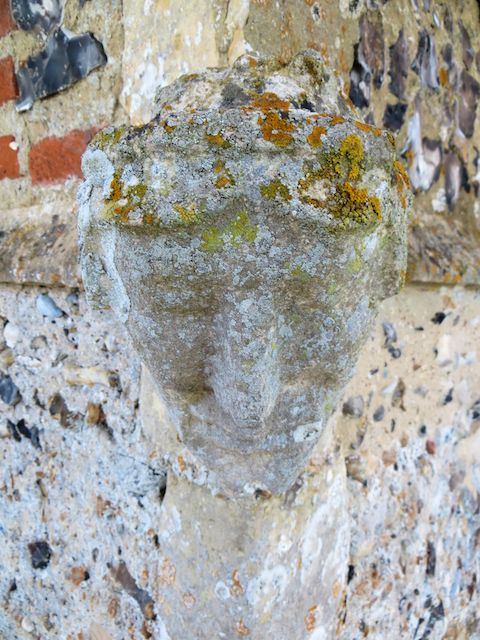
Grotesque 1 face on
Grotesque 1
Grotesque 2
Grotesque 2 side view
Grotesque 2 looking down
I would like to thank Roger and Will for their help with this post and for helping me get up and down the ladders!
The post would be the better for photographs of the writer teetering around the scaffold risking life and limb. It would add human interest and drama. But seriously folks, very well done on a tricky assignment – Geoff
Well done Storm,pictures are amazing ! You certainly have an eye for detail and for you to retain all the information without notes ,fantastic!
Look forward to the next update !
Congratulations on a fascinating post and for having the foresight to record your work in such detail. It’s all too easy to get wrapped up in proceedings and to realise only post-event that this would have been worth capturing.
Pingback: Repairing the Gargoyle, installing louvres and other work. | St. Mary the Virgin, Saxlingham Nethergate
Well done Storm. Mary